Databases
From the Devii Portal you can add, view, edit, and delete database Devii connections with ease.
After your first login your portal entry will look like this, to add a database click on the plus button.
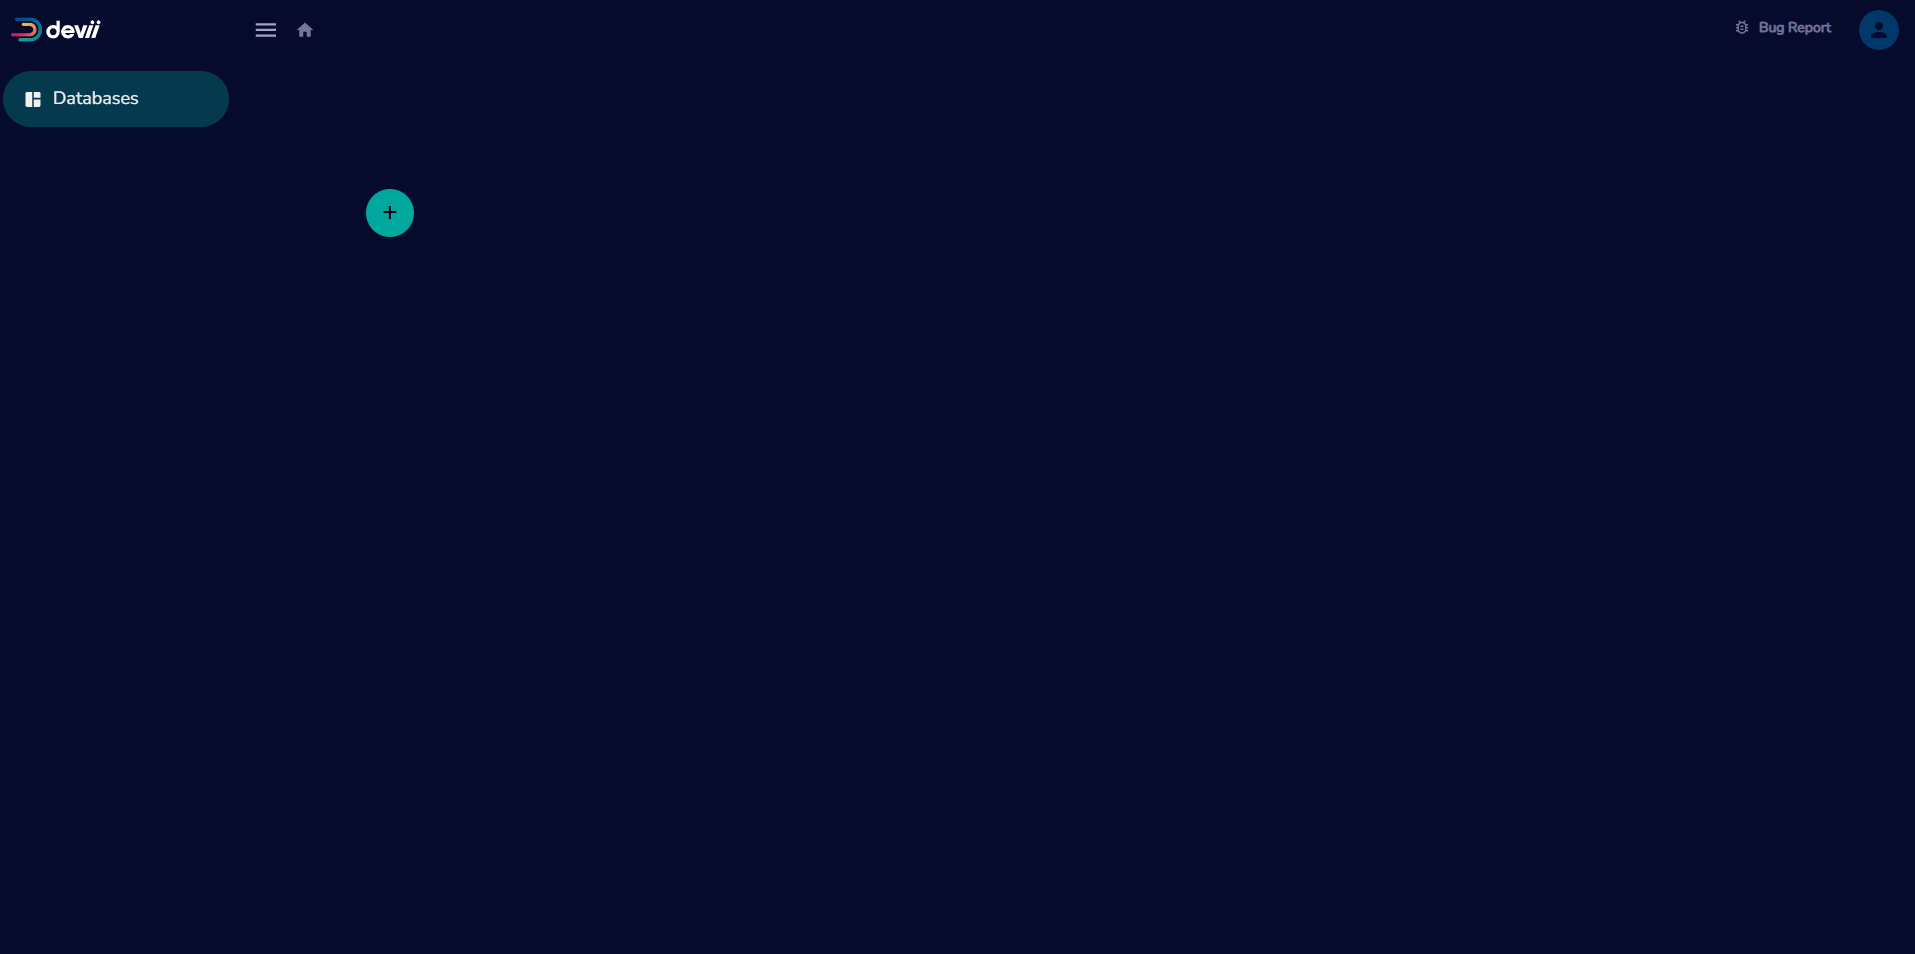
Add Database Connection
After clicking on the plus button the add database form will display fill out the fields to add a Devii connection to your database, if you have questions on what should be in the fields, descriptions of the form fields are below the image.
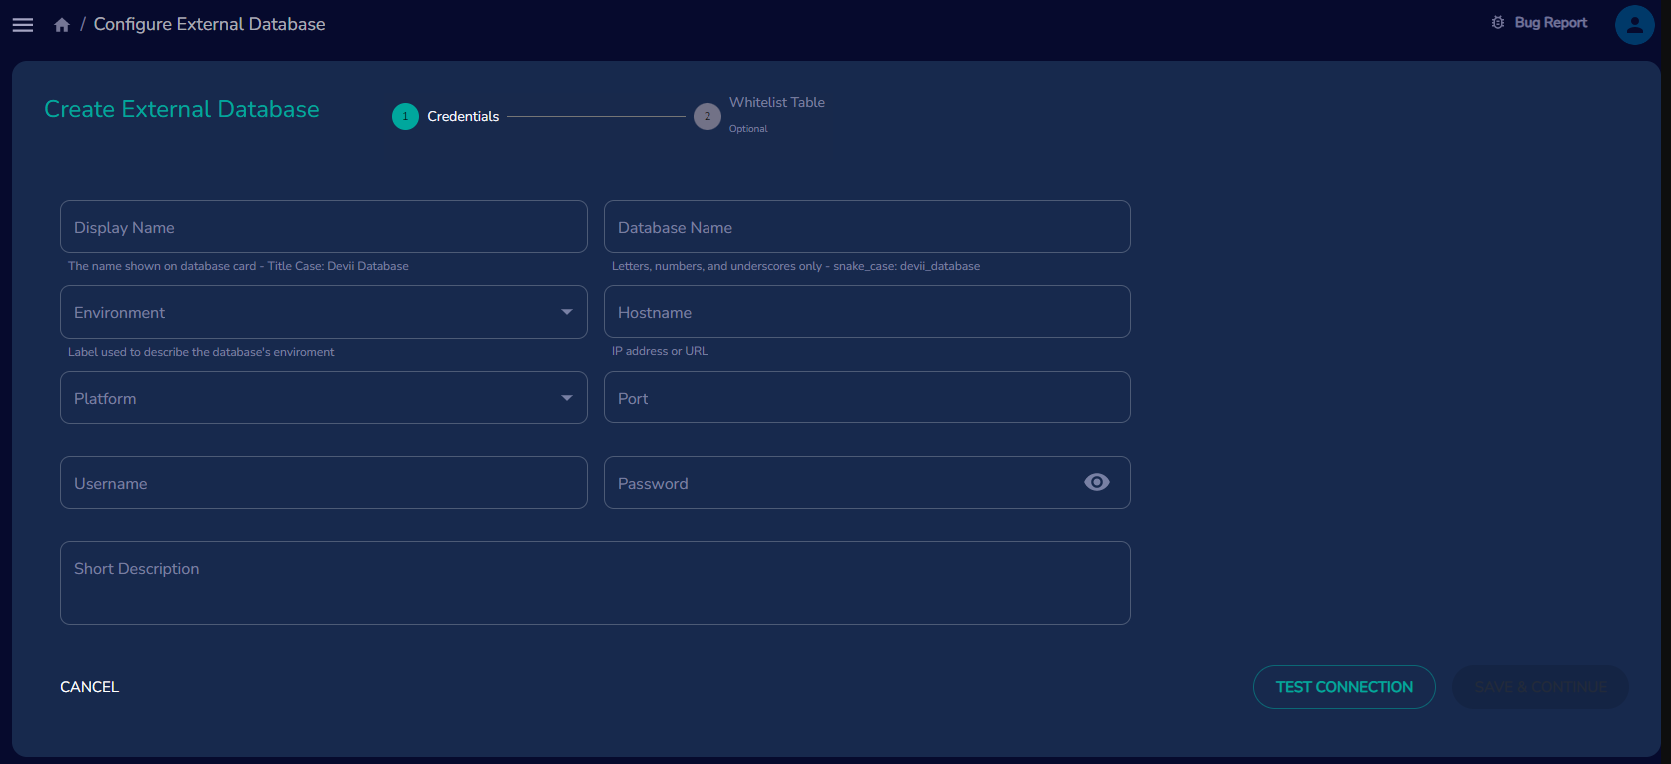
Field Descriptions
-
Display Name - This name will be visible as a card on your Devii dashboard. It is important to note that each database name within your account must be unique, with the exception of staging and production environments of the same database.
-
Database Name - This is name of your database as it is named in your environment and the identifier that Devii will use to establish a connection with your specific database.
-
Environment - Select whether you want to connect to the staging or production environment. If you have separate staging and production environments for the same database, you can use the same database name for both environments. However, it's important to note that the staging and production environments in Devii will have unique tenancy IDs. This ensures a clear distinction and prevents any confusion between the two environments.
-
Hostname - This is the address of your database server, an example of a hostname could be 'dbnamemysql.mysql.database.azure.com'.
-
Platform - Choose the database platform from the drop down list, if you do not see your the database platform in this list please contact Devii support at support@devii.io.
-
Port Number - Enter the port number required to establish the connection with your database. As an example, MySQL commonly uses port 3306.
-
Username and Password - Provide the username and password associated with your database. These credentials are essential for authentication and access to your database. Ensure that the username and password provided have the necessary permissions to perform the required operations.
-
Short Description - The database description will appear on your database card on your dashboard under the database name that you provided in the Display Name field.
-
Test database connection On the lower right side of the Configure External Database page, you will find a "TEST CONNECTION" button. Clicking on this button initiates a connection test between Devii and your database. The purpose of this test is to verify if Devii can successfully establish a connection to your database.
Upon clicking the "TEST CONNECTION" button, Devii will attempt to connect to your database using the provided configuration details. If your connection to Devii is successful, a message will like the image below appear in the lower left side of the screen. If any errors occur during the connection test, you will see warnings displayed at the bottom of your screen. These warnings indicate that there might be an issue with the database connection parameters or the accessibility of your database server.
These warnings serve as valuable feedback, helping you identify and address any connection-related problems promptly. You can review the error messages to troubleshoot the issue and make the necessary adjustments to your configuration settings.
Whitelisting tables
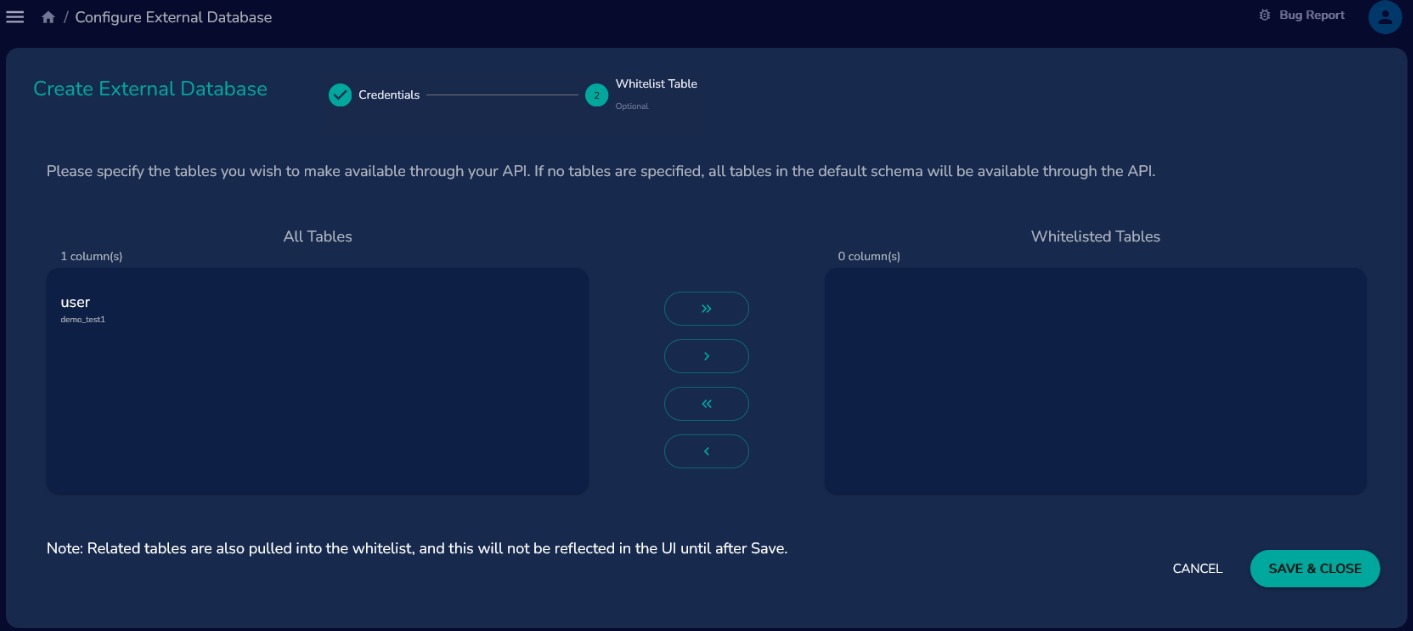
After establishing a connection to your database, you can selectively incorporate tables by leveraging the whitelisting feature. This empowers you to exercise precise control over access and utilization within the Devii environment. By restricting access to tables that are not essential for your specific requirements, you can optimize performance and safeguard sensitive data.
By clicking on the double arrows '>>' all of your tables will be moved over, alternatively you can move selected by clicking and highlighting the tables you want moved then clicking on the single arrow '>' only those tables will be moved. Then click on the 'Save & Close' button and your database tables are added to your Devii environment.
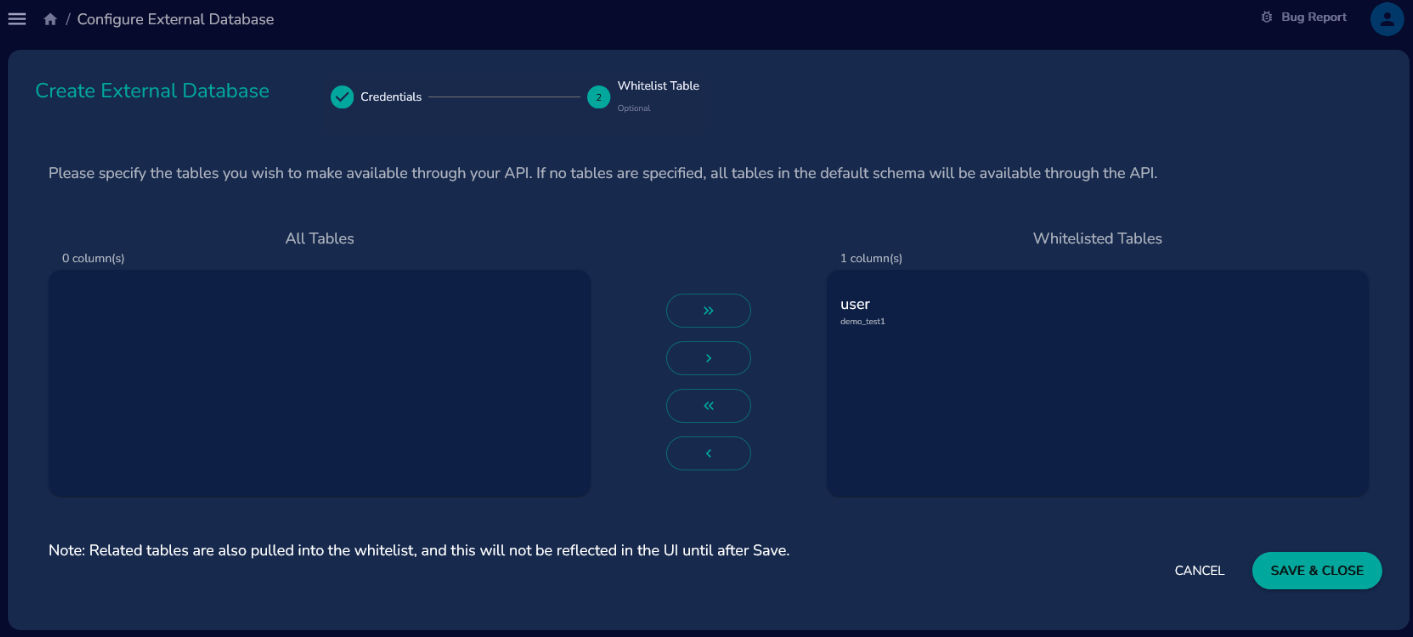
Now that you have the tables moved that you want to utilize in the Devii environment a database card will appear on your devii portal and a success message will be on the lower left side of the portal screen.
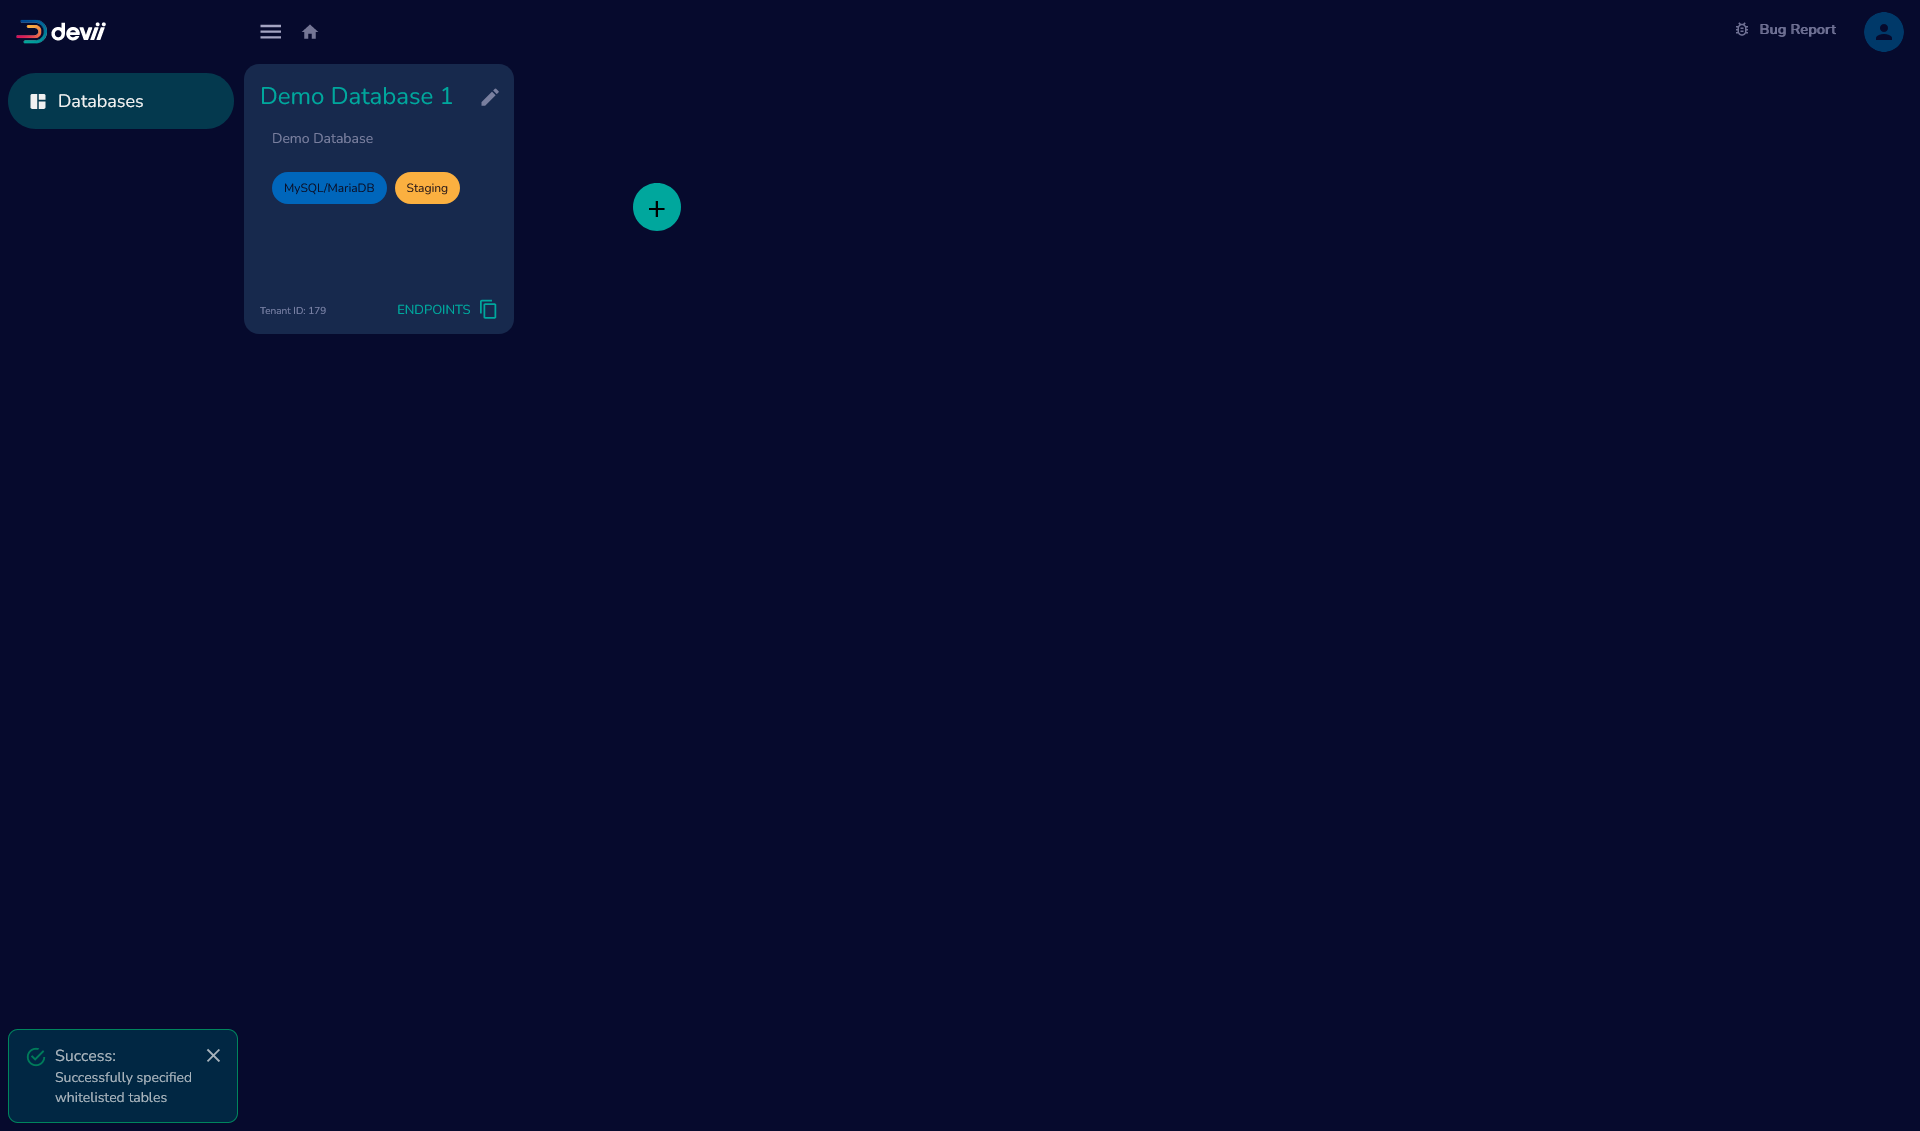
You can edit your whitelisted tables at anytime after this by clicking on the "Edit Whitelist" button on the side menu
Database Cards
The database cards will show the name you added to the Database Display Name in the create database step on the top of the card.
End Points
By clicking on the 'Endpoints' on the lower right side of the database card, an additional card will appear with 'Auth', 'Query' and 'Roles_PBAC', each of these are endpoints for your Devii connection. Upon clicking on any of the endpoints they will automatically be copied to your clipboard to integrate with applications.
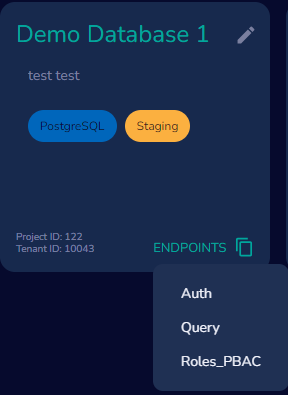
Tenant ID and Project ID
You will also find two additional pieces of information on the bottom left, your Project ID and Tenant ID. Your Project ID is in case you want to create a database and run other queries and mutations outside of Portal that require it. Your tenant ID is used to login to a specific tenant and to authorization purposes.
Edit and Unlink Devii Connectivity
To edit or unlink Devii connectivity click on the pencil icon on the upper right of the database card you would like to edit, Devii will remember all the information except your database password for security reasons.
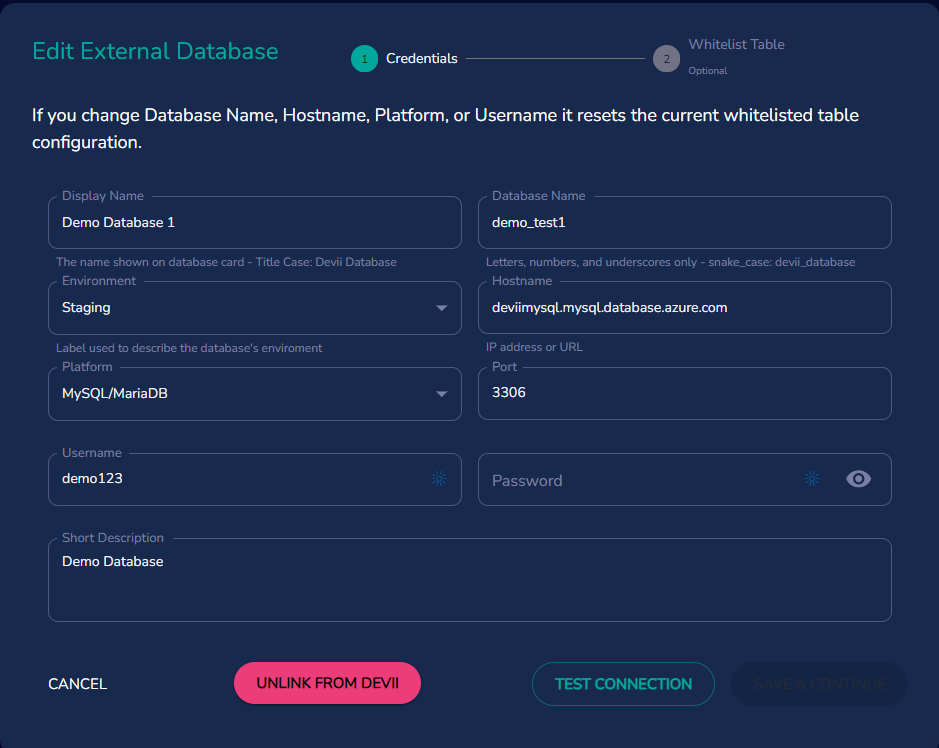
Once you have finished your edits to the the database configuration, click 'TEST CONNECTION' to retest connectivity, if you wish to make edits to your whitelisting, after you test your connection the 'Whitelist Table' option will be available and you either add tables or remove tables at this time. Once finished click on the 'Save and Continue' option and your Devii connection will be updated.
If you wish to remove the Devii connection to your database, click on the 'UNLINK FROM DEVII' option.
This will NOT delete your database, it will remove the connection to Devii and will no longer be seen in the Databases screen